Women are always on the lookout for new, fun ways to express themselves. With the rise of other social media platforms, it has become increasingly important to look your best at all times. One of the most popular trends today is nail art. From gel nails to glitter polish, there’s a way for everyone to make their hands stand out from the crowd. However, one style that looks professional (yet still trendy) is dip nails! These acrylics go beyond just painting your nails- they’re dipped in different colors and designs, which give them a fantastic aesthetic that you’ll love showing off on Instagram or Snapchat! This post will guide you through how to do dip nails yourself with step-by-step instructions and pictures so you can.
Dip powder nails at home
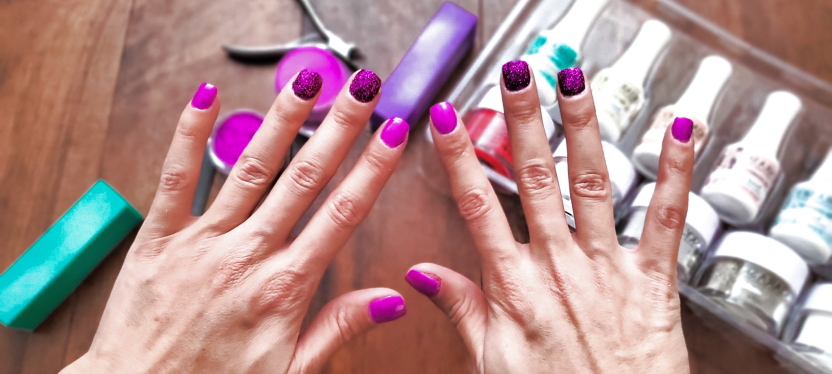
Dip nails are a trending manicure that can be done at home. However, you’ll need a few supplies and time for the polish to dry. Check out our guide below to get started.
- You will need nail polish, a clear coat, cotton balls, q-tips, paper towels, or napkins.
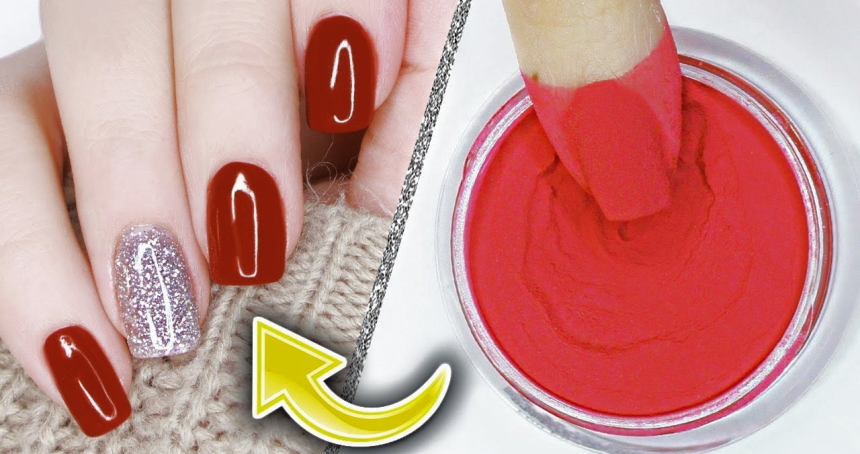
- Apply two coats of your favorite color on your nails and let them dry completely before proceeding with the dipping process. – Pour a small amount of nail polish onto one side of the bowl while holding it over the other side to catch any spills from dripping back into your bottle.
- Take a cotton ball and dip it in some clear coat, then dab it on top of one nail at a time, letting each layer dry.
Dip your nails perfectly
Many people shy away from doing their nails at home because it can be a little intimidating. But, there are so many different types of nail art tutorials out there for all skill levels to help you look your best.
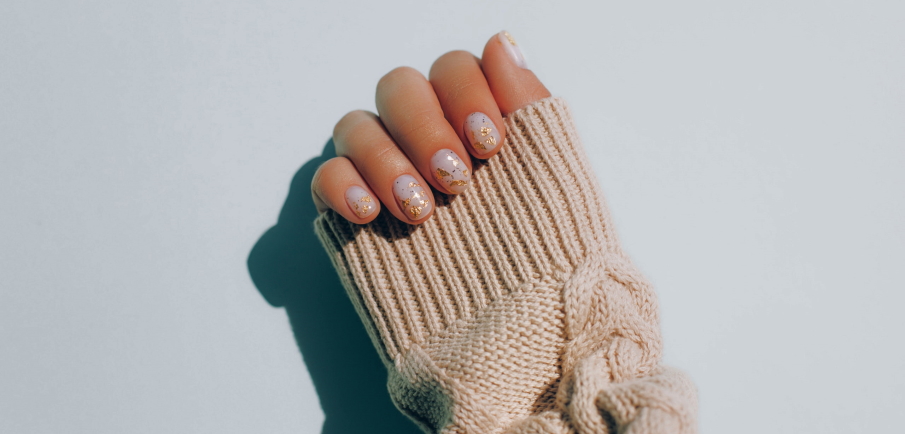
Dip Nails Basics: The first step is picking out your color and base coat. For now, I’m going to talk about how to do dip nails with one color polish. You’ll want a light or dark shade, depending on what type of design you want. For example, pick a nude if you plan on adding flowers.
I know this may sound like a no-brainer, but it’s important to prep your nails before you start. A good base coat will protect the natural nail and give your polish something to stick to. After that drys, take some cuticle oil and rub it all over the nail bed. This is where I make my first mistake with dip nails: not taking enough time with these two steps! If you don’t have a lot of time on your hands, use what you have wisely by doing both steps before starting the design or painting an accent nail for a quick fix later.
A few other tips I’ve learned along the way are using tape as a guide for straight lines and also using tweezers when removing excess from nails.
Do Dip nails ruin your nails?
One of the most common questions I get from clients is if dip nails will ruin their natural nails. The answer to this question is no, dip nails are not bad for your natural nail. Dip nails work by bonding a hard acrylic coating to your natural nail and can be removed at any time with nail polish remover or acetone.
The only thing that may happen over time is that you might have a little more peeling because it has been sealed under an artificial layer, so there’s less airflow to help dry out the skin on top of the nail plate. This doesn’t mean you should avoid getting them done but know what you’re signing up for.